 DrowUp Guide
Canvas
Canvas Basics
Create a project, recognize the main canvas controls, and finish one small generation job.
The Canvas turns a job into visible steps. Each project keeps its own nodes, connections, uploads, and generated results.
Create or open a project
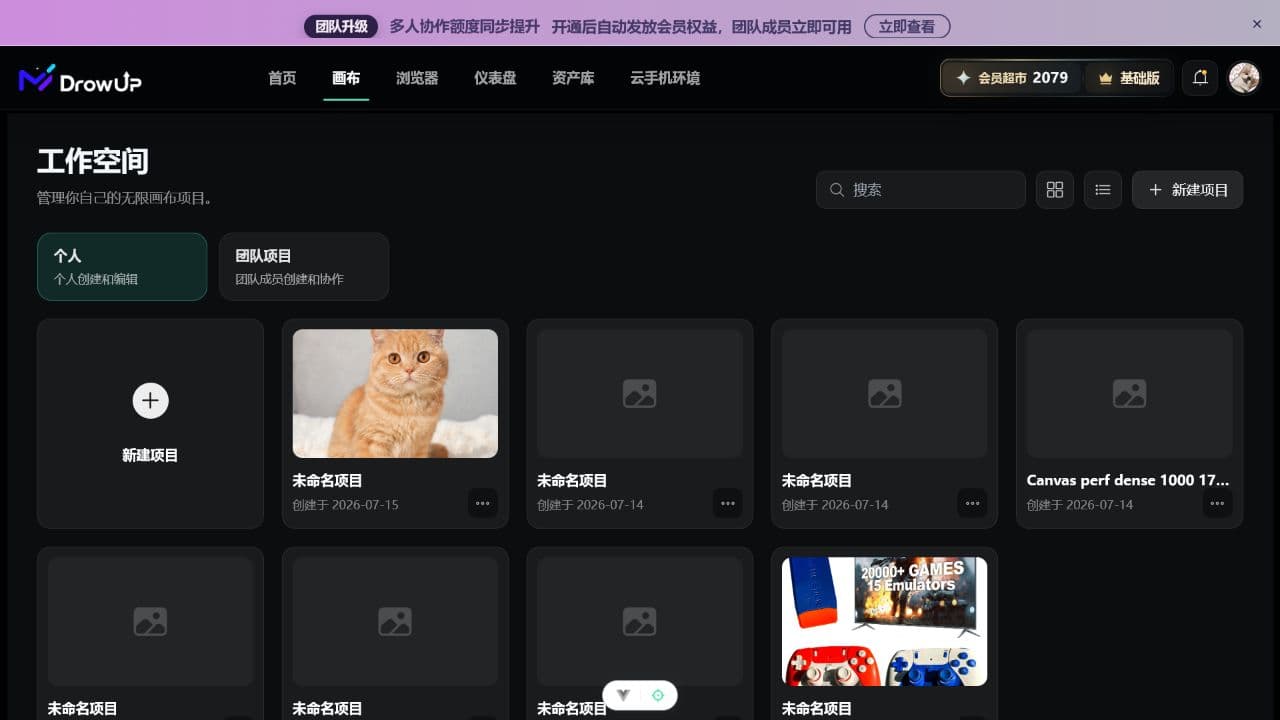
- Open Canvas from the top navigation.
- Choose Personal Projects or Team Projects.
- Select New Project, or open an existing project card.
- Give the project a name that describes the job.
Use a personal project while learning. A team project is useful when several people need the same canvas and your account has team access.
Recognize the canvas
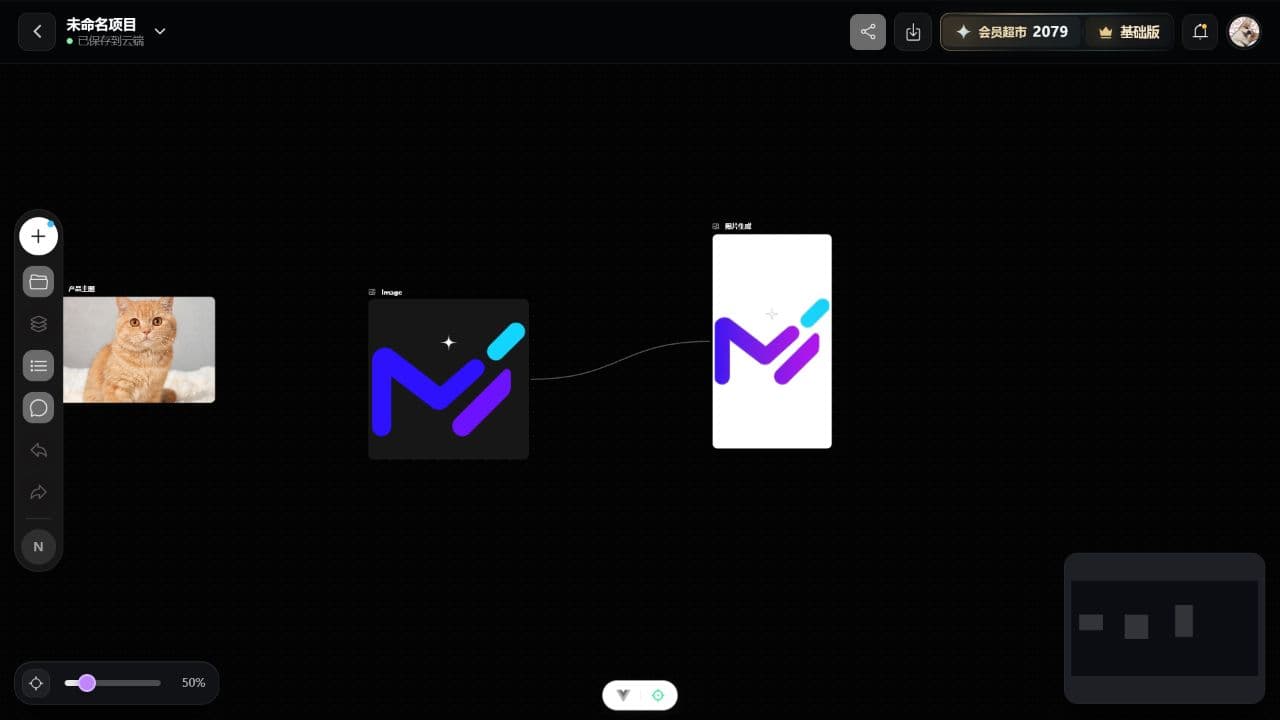
- The large center area is the working space. Drag it to move around the project.
- The left toolbar adds content, opens materials and workflows, and provides undo and redo.
- The zoom control changes how much of the project you can see.
- The small map shows where your nodes are in a larger project.
- The status near the project name tells you when changes have been saved.
Finish one small job
- Add one input, such as a product or an image.
- Add one output node, such as an image node.
- Connect the input to the output.
- Enter a short, specific instruction in the output node.
- Review the estimated cost when shown, then start the generation.
- Wait for the node to finish before leaving the project.
- Confirm the result in Generation History.
Uploads stay with the canvas
A file uploaded from the Canvas is not automatically placed in the Material Library. Save it to the library when it should be available in other projects.
Next: Learn nodes and connections.