 DrowUp Guide
Canvas
Nodes and Connections
Understand what each node does and how connected nodes pass content through a canvas.
A node is one step in a job. A connection passes content from one node to the next. Build from a clear input on the left toward the result you want on the right.
Add a node
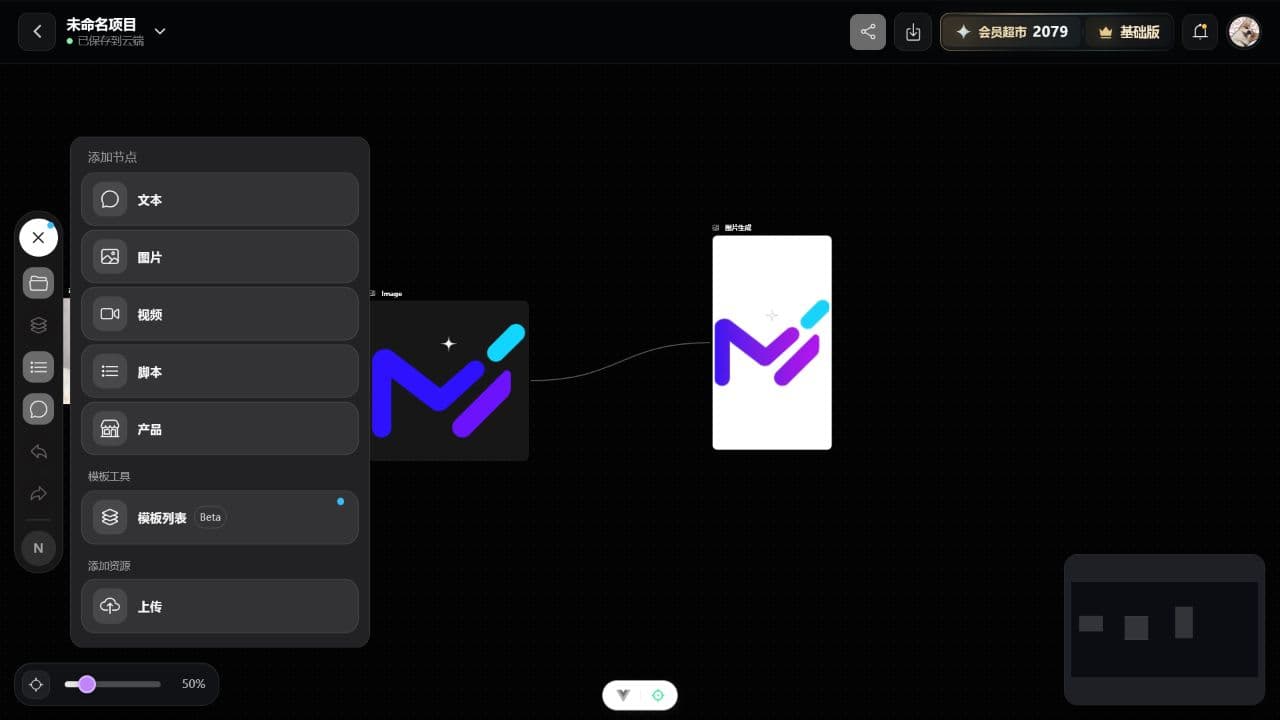
Select the plus button on the left side of the Canvas, then choose what you need:
| Node | Use it for |
|---|---|
| Text | Instructions, copy, titles, and other written input. |
| Image | Uploaded images, generated images, and image editing. |
| Video | Video input or generation. |
| Script | Structured content such as scenes or shot lists. |
| Product | Product information and product images from the Product Library. |
| Template List | A reusable group of nodes saved as a workflow. |
| Upload | A file that belongs to the current canvas. |
The Script node here is for content structure. Browser RPA scripts are selected later from the Script Market.
Connect nodes
- Place the input node before the node that will use it.
- Drag from a connector on the first node to a compatible connector on the next node.
- Confirm that a line appears between them.
- Open the next node and check that it recognizes the connected content.
- Fill any remaining required fields, then use that node's generate or run action.
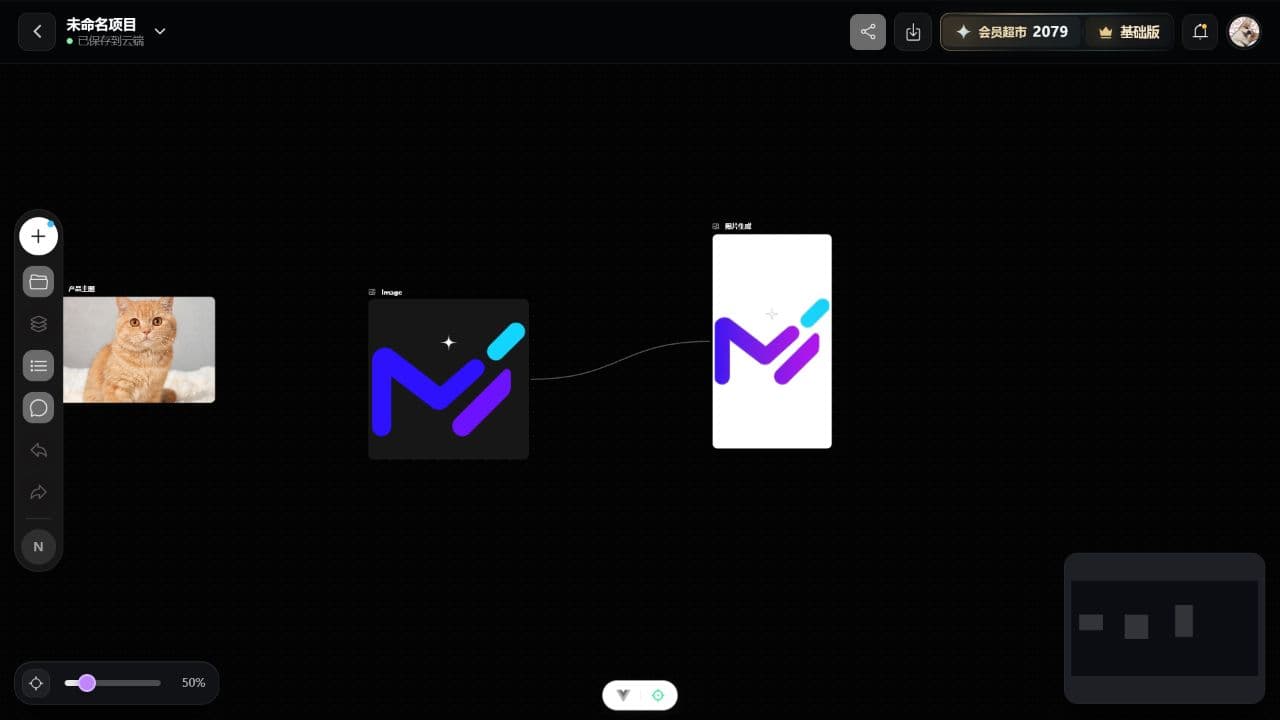
Keep the route easy to read
- Use one node for one clear job.
- Arrange nodes from input to output.
- Rename important nodes when the project becomes larger.
- Test a short route before adding more branches.
- If a node gives the wrong result, check its input and instruction before rebuilding the whole canvas.