 DrowUp Guide
Product Image Workflow
Use a saved product in the Canvas, create new product images, and choose how product changes are saved.
This route starts with a product already saved in the Product Library. It keeps product information connected to the images you create.
Build the route
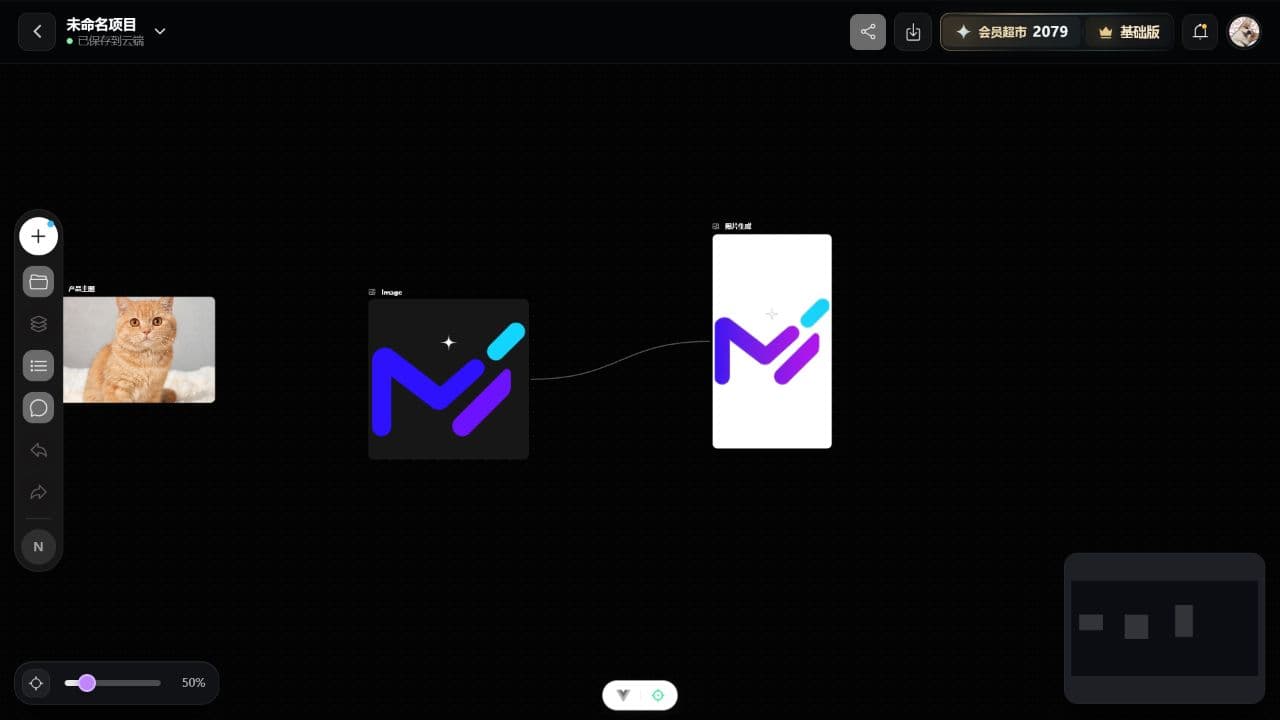
- Create a canvas project.
- Add a Product node.
- Import the product from the Product Library.
- Add an Image node.
- Connect the product image to the Image node.
- Enter the change you want, such as a white background, a new scene, or a different crop.
- Generate one result first and check it carefully.
Choose the correct product save mode
The Product node offers three save modes. Choose before writing changes back to the library.
| Mode | Result |
|---|---|
| Fill Only | Fills the Product node form but does not update the Product Library. |
| Overwrite Original | Updates the original product record. Use only after checking the result. |
| Save as New Product | Keeps the original and creates a separate product record. |
For a first test, use Fill Only or Save as New Product. Use Overwrite Original only when the new information and images are ready to replace the original.
Keep the useful output
The generated image appears in Generation History automatically. Save the selected image to the Material Library when it should be reused elsewhere. If the product itself must change, return to the Product node and use the intended save mode.
Check before overwriting
Overwrite Original changes the saved product. It is not the right mode for comparing several experimental versions.