 Agent Guide
Infinite canvas
Build a small creation workflow and verify where generated results are saved.
The infinite canvas puts products, reference material, prompts and generation steps in one workspace. Nodes process content; connections pass outputs to downstream inputs.
Start with one product → one image generation → review → confirm whether to save back. Add video, groups or batch execution after this minimal route works.
Before you start
Open the application's canvas from the website and sign in. The web canvas does not require installing the desktop client merely to open it; browser automation that depends on the desktop is a separate capability. Check your team, asset rights, model parameters and generation costs.
Nodes and connections
| Element | Purpose |
|---|---|
| Product node | Supplies product information and can be a save-back target |
| Image or text node | Provides reference material, prompts or scripts |
| Image or video generation | Processes inputs with the selected capability |
| Connection | Routes an upstream result to a downstream input |
| Groups and workflows | Organize verified steps for reuse |
Canvas connections are not connectors, which connect external tool services.
Nodes run left to right: the reference image on the left, a node in the middle passing its output to the generated result on the right.
1. Create a project and add an input
Open Canvas from the top navigation to reach the workspace list. Personal and team projects are separated; click New project in the top-left to start.
Create a project in the workspace. Bring in a product from the library, or add a reference image and text. If results will be saved to a product, confirm its ID first.
Create a square product image from the reference, with a white background
and soft lighting. Preserve the product's structure, colors and existing
marks. Do not add accessories or certifications absent from the reference.
Review the output: instructions cannot guarantee that a generation model preserves every product detail.
2. Connect a generation step
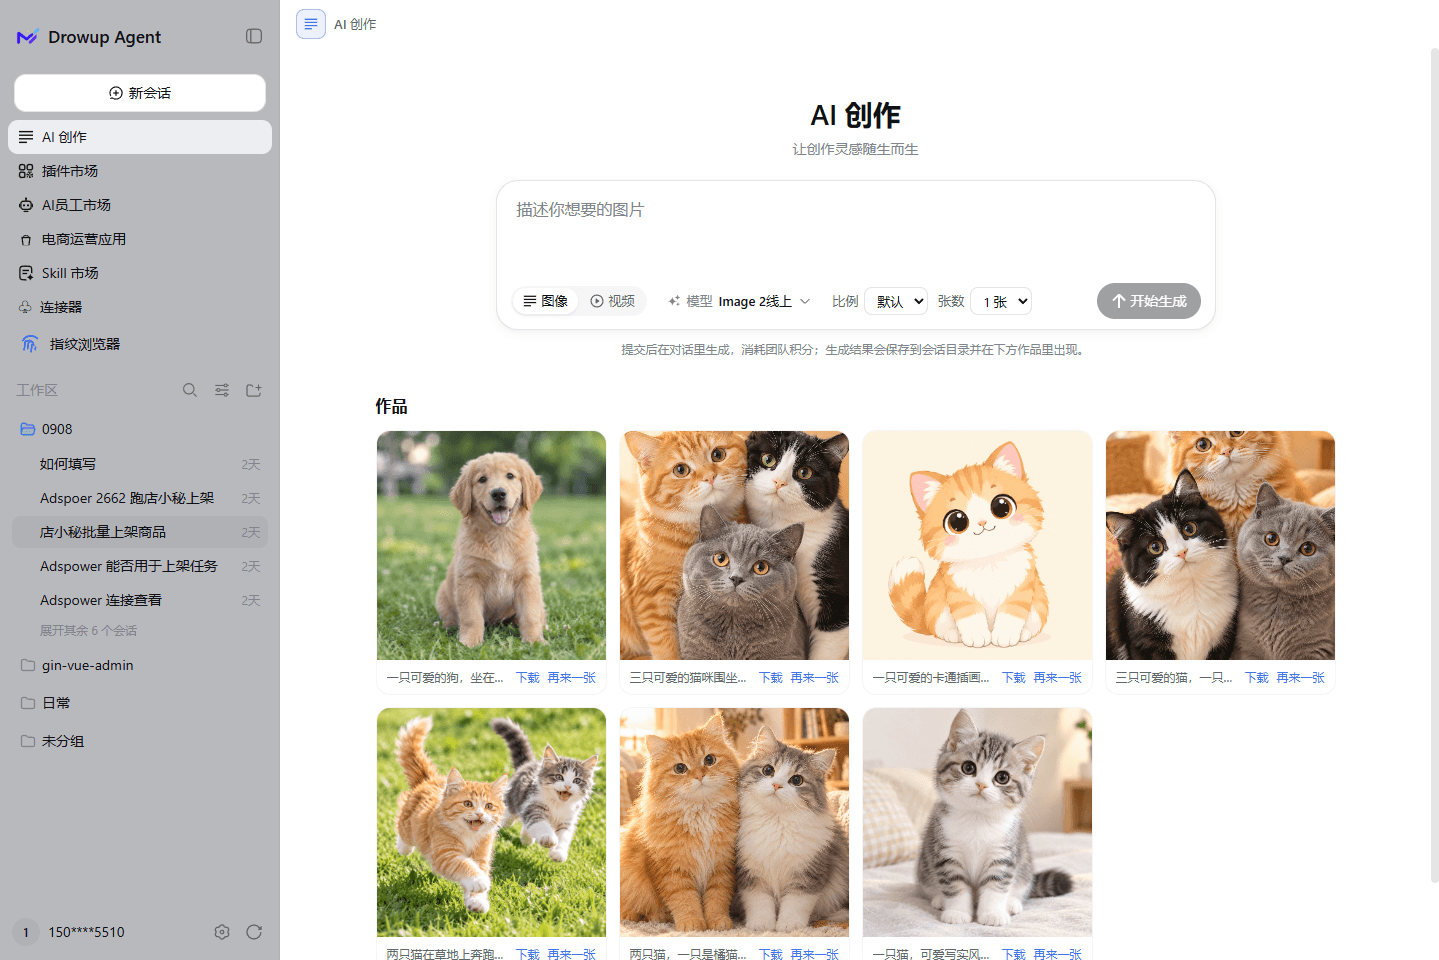
For a single image without building a flow, AI create in the sidebar is quicker: pick image or video, choose a model and an aspect ratio, and generate.
Use the plus control on a node's right side to open the Add node panel: text, image, video, script and product nodes, with Upload at the bottom for local assets.
Pick a node, then check the input connections, prompt and model-specific parameters. Generate one image before adding multiple branches. Nearby nodes are not necessarily connected, and a downstream node needs a valid upstream output.
3. Review the result
Wait for completion, then inspect the product shape, marks, accessories, background and dimensions. Check the generation record. A visible image on the canvas is not proof that the product's main image has changed.
4. Confirm the save destination
Check the target product, image position and current save-back dialog. Existing options include fill-only, overwrite-original and save-as-new modes; read the current dialog for exact behavior.
Use a test product or a separate new product when appropriate. If replacement behavior is unclear, cancel first. After saving, reopen the target record in the product library and verify the image and order. Saving an asset for reuse is not the same as saving it into a product field.
5. Reuse a verified workflow
Group working nodes and save the workflow only after final outputs and connections are correct. For product-library workflow reuse or one-click variants, begin with one product and check inputs, outputs and costs before expanding the batch. Saving a workflow does not execute it on other products.
Troubleshooting
| Symptom | Check |
|---|---|
| Missing downstream input | Upstream success and the target input connection |
| Image exists but product is unchanged | Save-back action, product ID and image position |
| Product unavailable after navigation | Team and access permissions |
| Workflow cannot be reused | Valid inputs for the new product and a previously working route |
Completion means you can find the generation record, identify the save destination and verify any requested product update.